Showing posts with label OUGD203 - Posters. Show all posts

Tuesday, 22 March 2011

Mailshot


Sophie had created this mailshot, we wanted to create a folded outter packaging for the smaller sample book of which we would send out to people. To do this sophie screen printed white onto black.
For the sample book we are putting in the poster campaign along with other additions such as a contact page and front cover. The sample book will be at the Fedrigoni office and a smaller version will be available as a mail shot sent to potential clients.

Monday, 21 March 2011

 With one of the paper samples Sophie embossed it, of which we think we may use on the front page of the book, although would have to be in black as Fedrigoni in the brief asked for any outer packaging to be black.
Different posters.. 
We wanted to create a poster campaign and then use these posters in a sample book of which would 

 The first poster above is the flocking.
 We also came up with a list of the versatility of the paper, one of which was fold. Hence the design of the poster above.
 This poster shows the list of things the paper can do.

 This poster holds a sample of the Fedrigoni range, and is also embossed along the top of the page.

 This poster above is a variation on layout and type, along with all the information needed to be on the page.


Laser cutting.
Using the letters from the lasercutting we had abit of a play around.. 


 This laser cutting sheet was out of mountboard ready to use with embossing.


Effects from foil blocking!
We decided to foil block white onto black type to see what it would look like. It created a sort of textured effect, of which we quite liked.


Friday, 18 March 2011

Another word we wanted to use was 'rip' so for this one we have decided to have a sheet on top of this page strip ripped down the right hand side to reveal this poster behind it with the word rip down the right hand edge. 

Another Idea! 


For this idea we decided to chose the word 'perforated' with this we have then come up with the idea of having the logo on one page, and perforating around one corner, pealing that back to reveal the second poster below.. 

 This poster below would be underneath the poster above so when the logo is perforated and pealed back  to reveal the words: 'paper that performs' repeated in lines!


This poster is slightly like spot varnishing. What we are going to do is create s poster on white paper using nearly white ink/clear ink. So this then makes whatever you have on the page a sheen. If you look really closely you can just to say see it! 
Is it exciting!?


Me and Sophie sat down to gather our posters together so see what we had how they would work together and also what was missing the be able to create more experiments of would then go in the book!

We decided that we needed more than just the same design and layout. So we have now both created some different designs to add into the mix!

I decided to make a pattern in illustrator as one of our words of the versatility of the paper was 'erase' so i thought of drawing out the image then erasing the logo out of it:

I don't think i particularly like the type within the pattern yet i quite like the pattern being in grey and also having the logo shape cut out of it! 


I quite like the simplicity of the logo being cut out of the pattern. I think this will look really good if we then take this onto the vinyl cutter, but rather than use a blade use a pen, so it will actually draw this out.

I really like this design below!! Of having the writing just to say visible so it looks like its been cut out. 

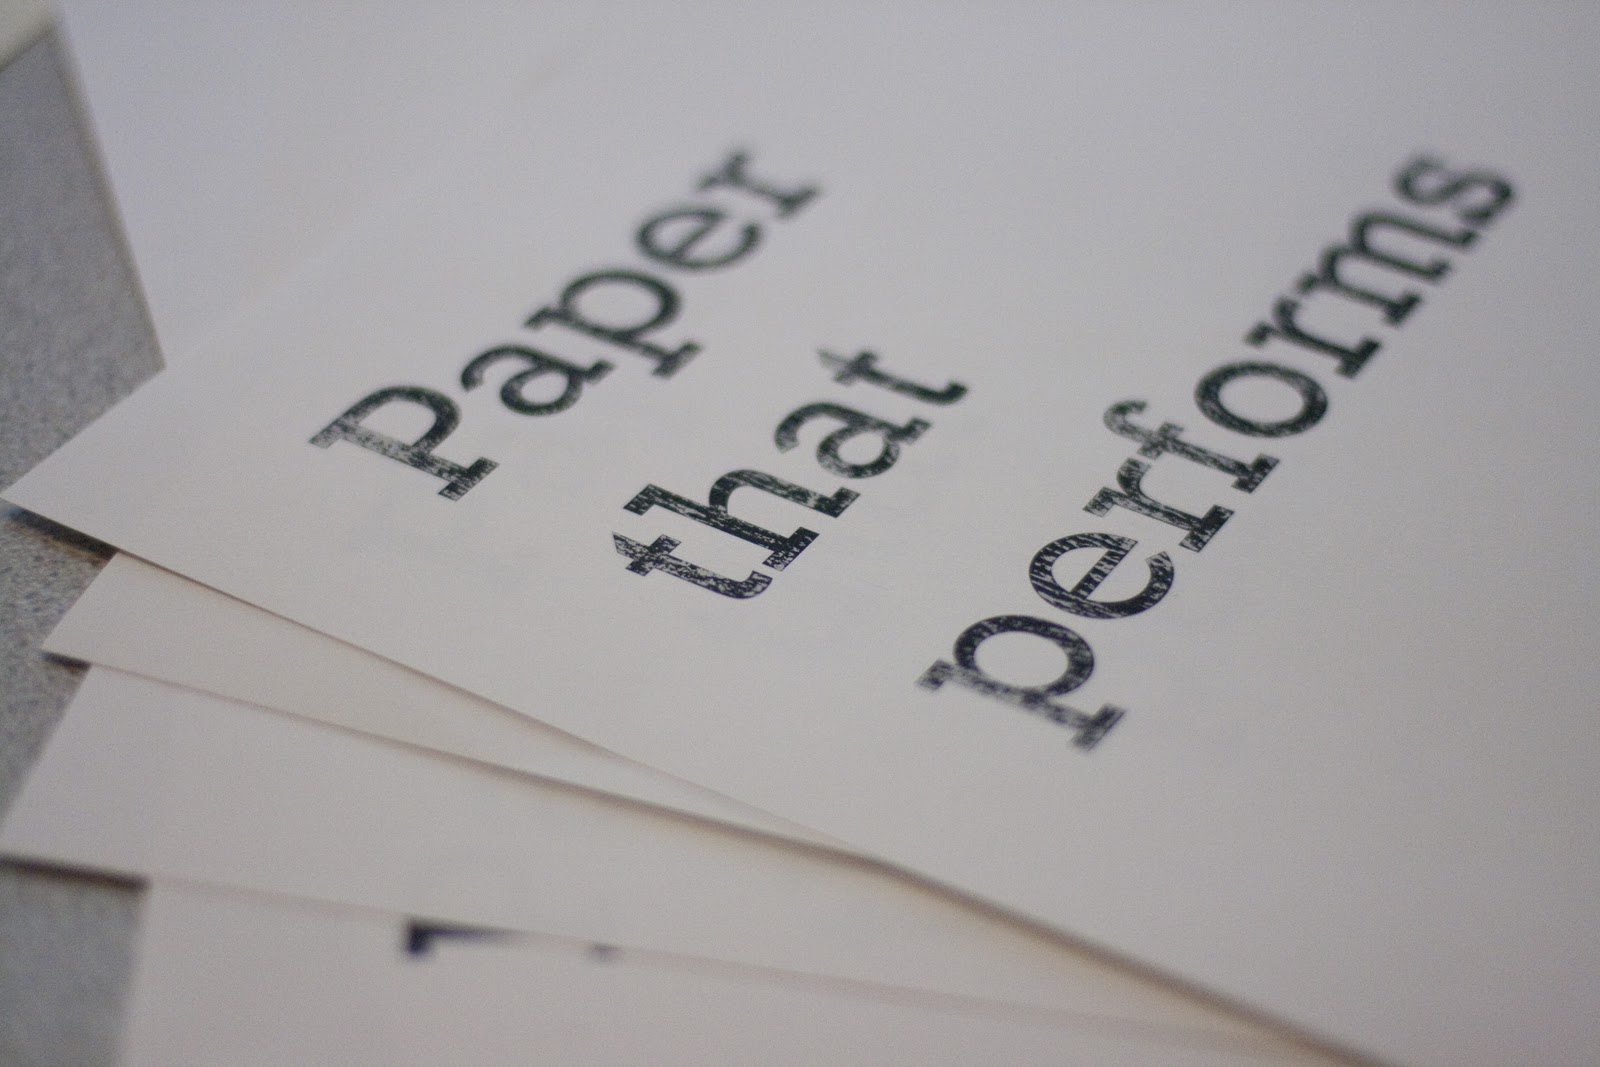
This is what the type looks like zoomed right in:


These are some of the designs progressed from using the shredded paper. Although people didn't like the shredded paper I think it looks really effective done digitally! Now have to chose a favourite! 
Colour Ideas..

With our posters being hand crafted a lot of our designs do not include colour.. So we decided that along with the black grey and white designs we would chose one colour to compliment the designs.

Sophie and I could not chose a colour from this list of which we would like to use!! Sophie liked the bottom colour whereas I liked the bright green. So... We asked around in the class and made a tally, the top orange colour came out as the favourite, so this is what we are going with.

Wednesday, 16 March 2011

Prints 

Downstairs
Screen print
Shredding
We decided to have a go at experimenting with shredded paper, something to excite the audience or something more creative than just creating designs on the computer.


We thought that by creating a square outline of the shredded paper we could then add the details and information in the inside of the design.


 We also decided to make a F for Fedrigoni. I quite like this idea however i think it would work better if we would have actually based it on the type of the logo itself.

Tuesday, 15 March 2011

Preparing for print


We have decided to do: 
Embossing
Screen Printing
Foil Blocking
Lasercutting


To do this we have then had to think about how we actually want our pieces to look within the book and also prepare the different ideas for each printing technique.

This was our initial layout. This is the simplistic design we went for to then play around with with printing techniques.

This file below is the preparation for laser cutting, we want to cut all these pieces out of mount board to then use it for embossing.
This is for the screen printing.. We intend to experiment with colours and also possibly overlapping colours and using really bright illumines colours.
We also decided to create a large type to then have different version and larger techniques within the book of which will interest the reader.